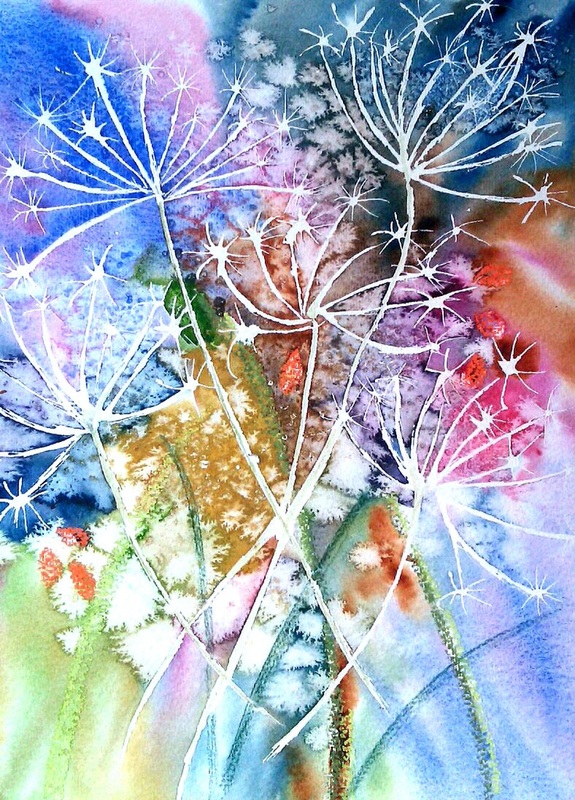
1. Masking Out: Masking out is a technique that can be really useful in more abstract work, in order to achieve layers and veils of colour and light. Or when you wish to maintain paper white in your artwork. Using rubber cement, paint the cement on the areas you wish to mask. The key is to let the cement dry thoroughly before painting on top of it. Let the paint dry over and around it before you try to remove the cement.
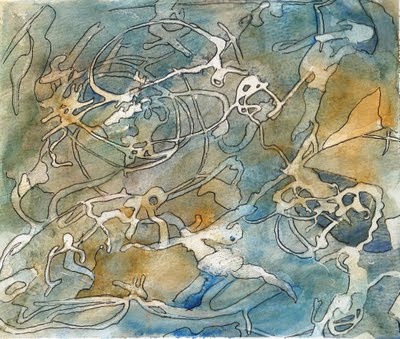
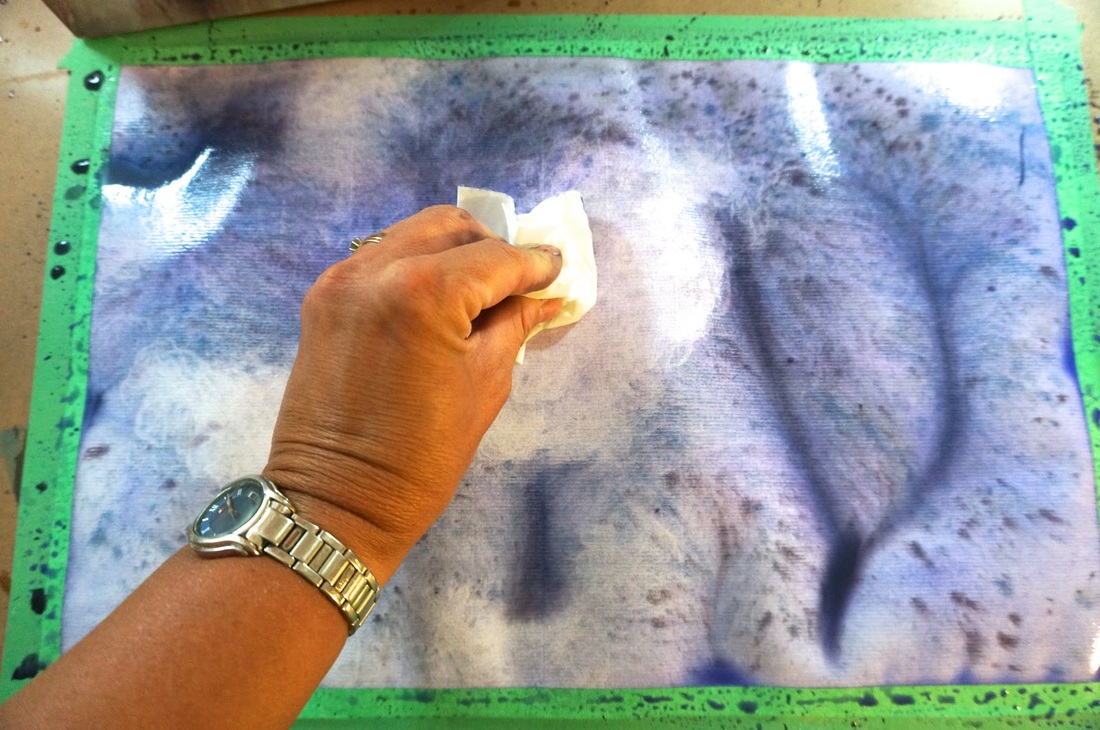
2. Cling! Apply wet paint to your paper, lay on a sheet of clingfilm or plastic bag. Let it fold up into its creases as it touches the wet paper. Don’t move it around on the paper, just let it sit on top and gently press down as the paint dries. Use a small book or weight to keep the plastic in place. Later, lift off the clingfilm to reveal the effect. The image below shows the results of a brief experiment but such an effect can easily be incorporated into a more detailed painting.
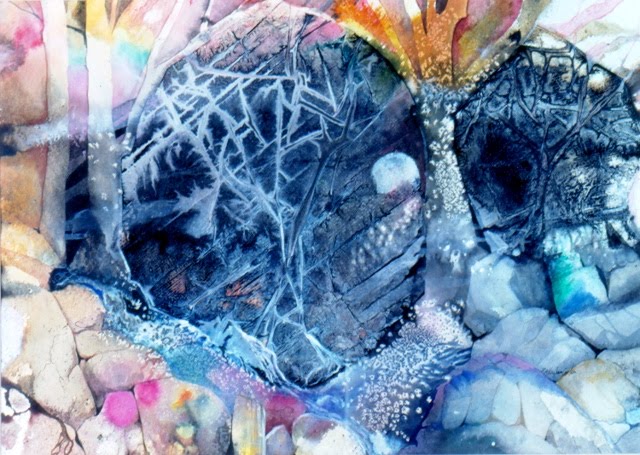
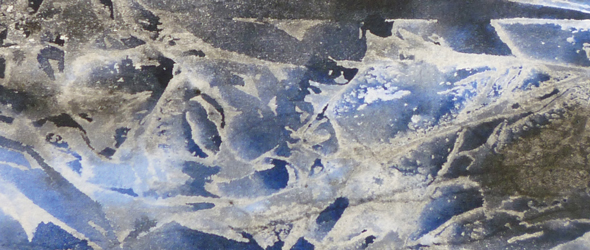
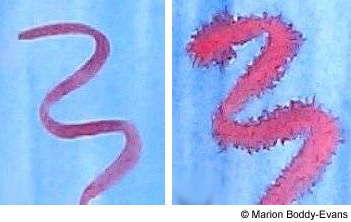
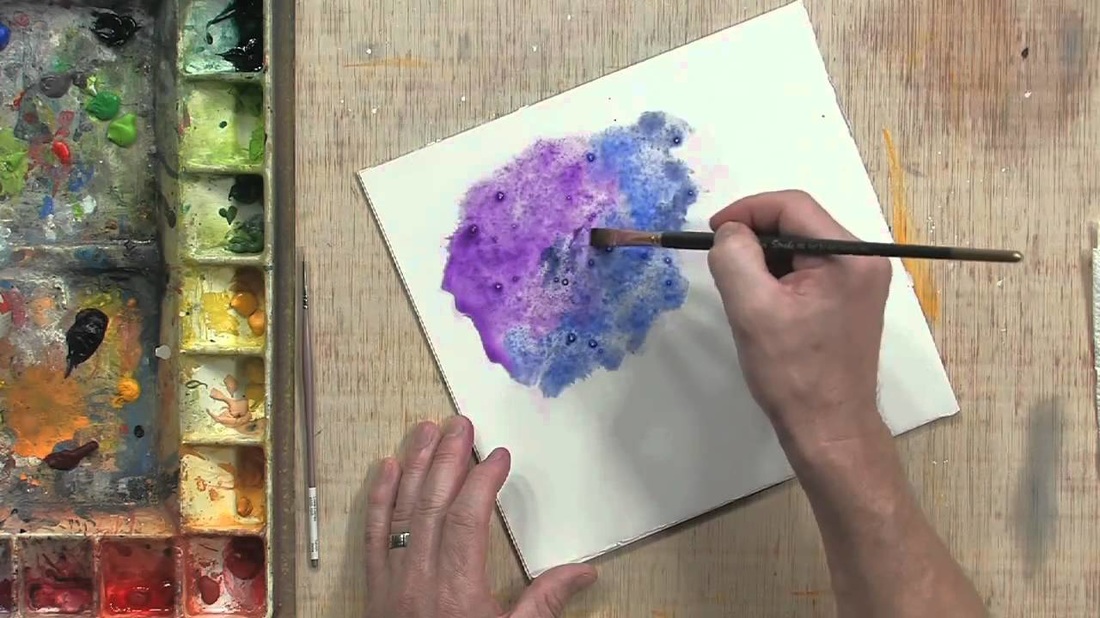
3. Salt. Lay on a layered wash of deep colors. Sprinkle salt onto the wash. Less is morel. Take a pinch of salt in your fingers and sprinkle a few grains rather than dumping a whole shaker on your painting.
Do NOT disturb until dry.
You can add layers of salt over small areas gradually and add drops of watercolor to help dissolve the salt, which was just put down.
Add more salt (more in the middle and less along the edges). Add more drops of water. Continue until there is a small mountain of salt. When dry this 3d image will remain in place (as long as its not too high) - See more at: http://www.incredibleart.org/files/water2.htm#sthash.ItMntBnf.dpuf

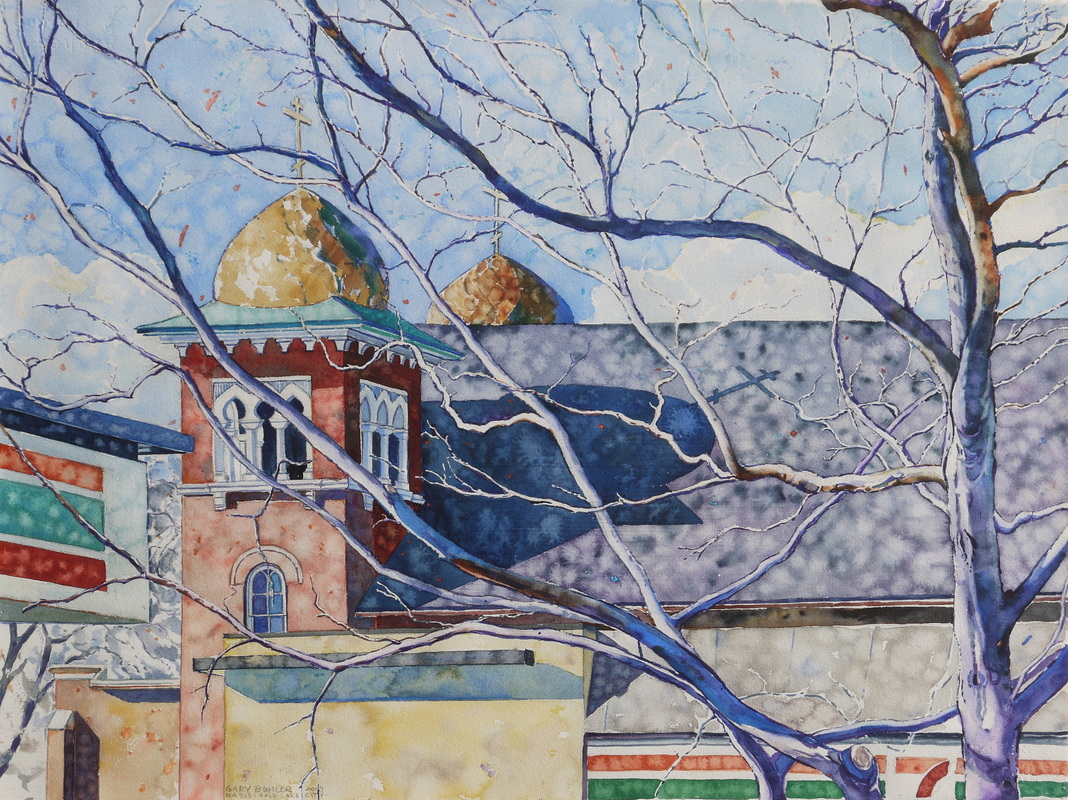
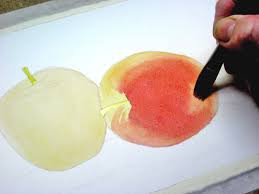
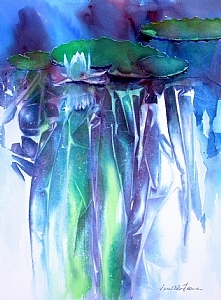
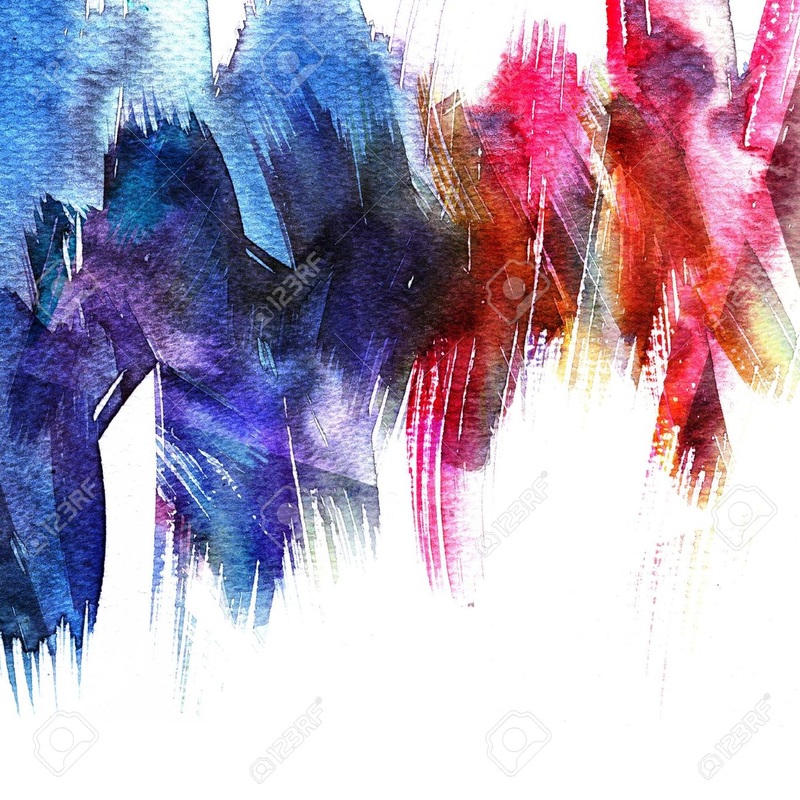
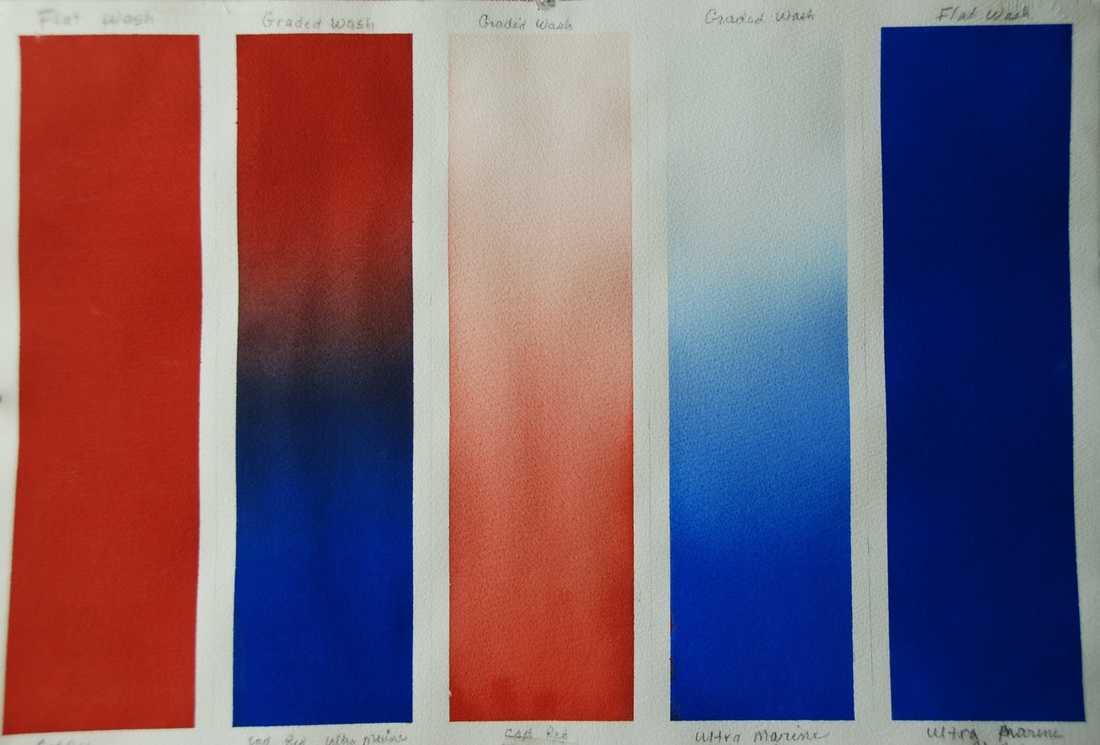
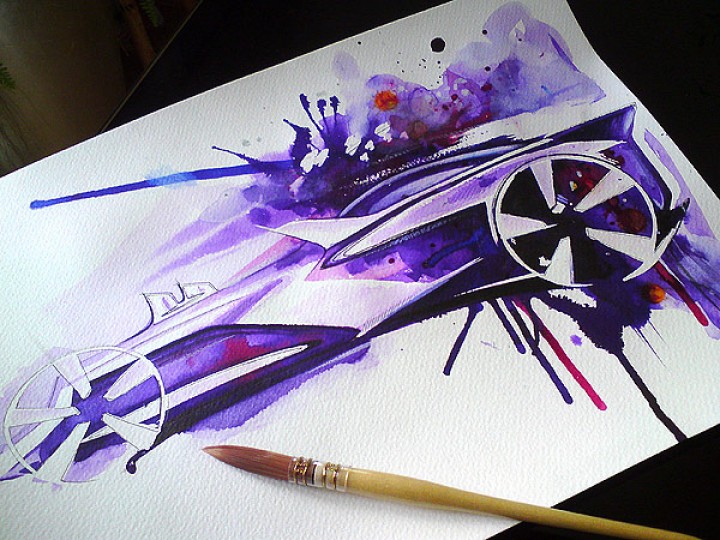
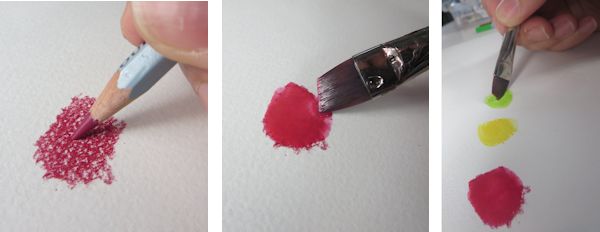
4. Wet on Wet. Laying color on wet paint produces a bleeding effect. Adding paint to a wet layer of paint on the paper produces a soft, diffused look as the colors mix. The extent to which the two colors mix depends on how wet the first layer still was and how dilute the second color was. You can get anything from a soft-edged shape to a widely spread pattern.In the example here, the blue was slightly damp when the red stripe was added, so the red hasn't mixed very far into the blue.
Being able to predict the results you're going to get working wet-on-wet takes practice, but as this technique can produce spectacular, lively paintings it's well worth experimenting with it. It's particularly useful for suggesting movement in a painting and for diffusing shapes when you don't want too much detail.
Being able to predict the results you're going to get working wet-on-wet takes practice, but as this technique can produce spectacular, lively paintings it's well worth experimenting with it. It's particularly useful for suggesting movement in a painting and for diffusing shapes when you don't want too much detail.
5. Wet on Dry: The way many beginners use watercolor. If you want sharp edges to what you're painting, then any paint already put down on the paper must be dry before you paint another shape. If it is completely dry, then the shape will stay exactly as you'd painted it. If it isn't completely dry, the new layer will diffuse into the first (this is done deliberately when you're painting wet-on-wet).
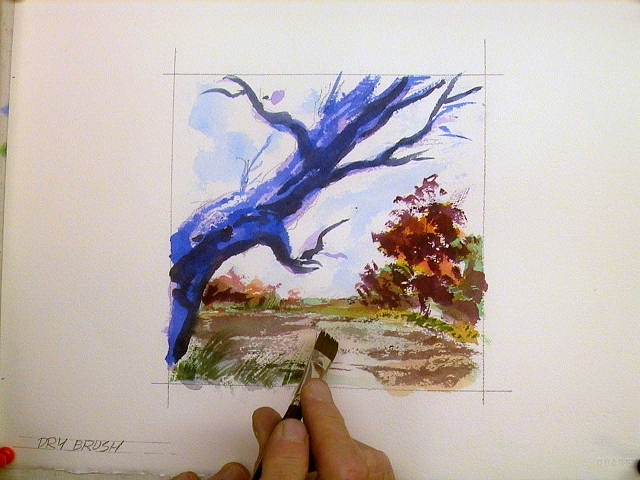
6. Dry brush on dry: Dry brush is the almost the opposite watercolor technique to wet in wet. Here a brush loaded with pigment (and not too much water) is dragged over completely dry paper. The marks produced by this technique are very crisp and hard edged. They will tend to come forward in your painting and so are best applied around the center of interest/focal point.
7. Wash
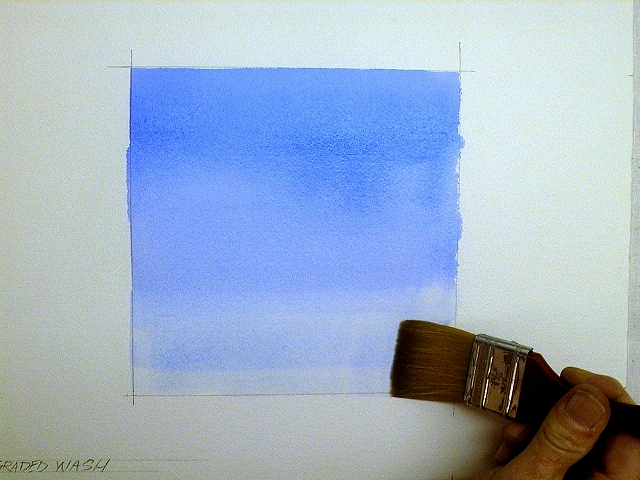
8. Graded Wash: The most basic watercolor technique is the flat wash. It is produced by first wetting the area of paper to be covered by the wash, then mixing sufficient pigment to easily fill the entire area. The pigment is applied to a sloping surface in slightly overlapping horizontal bands from the top down. Once complete the wash should be left to dry and even itself out - don't be tempted to work back into a drying wash, the results are usually disastrous!
A variation on the basic wash is the graded wash. This technique requires the pigment to be diluted slightly with more water for each horizontal stroke. The result is a wash that fades out gradually and evenly.
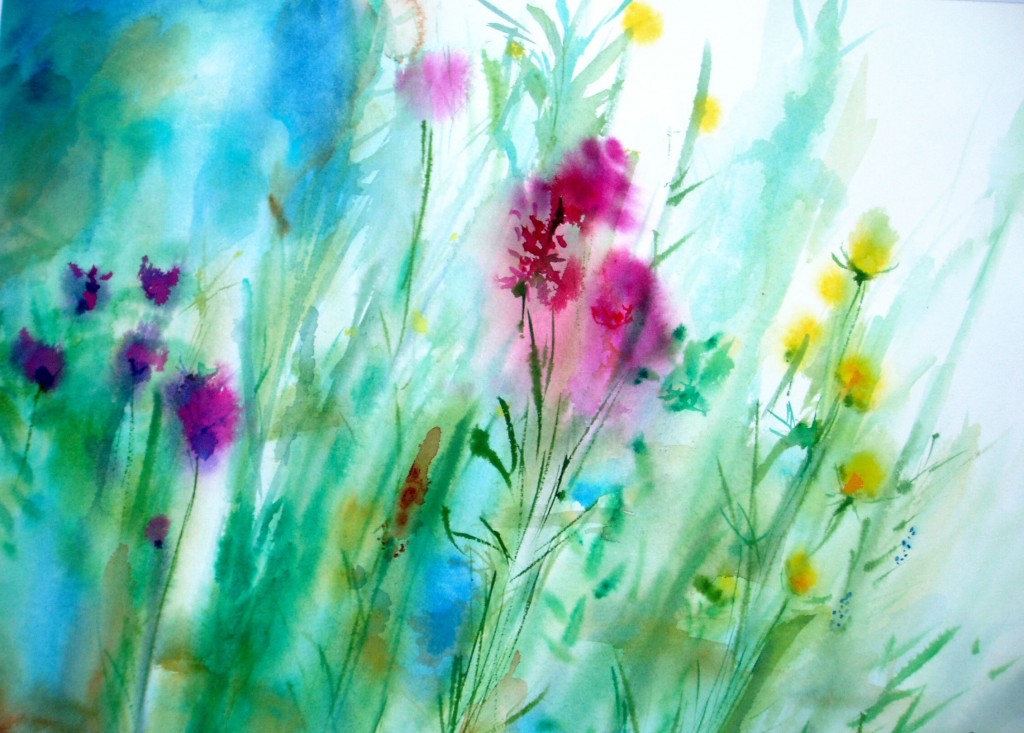
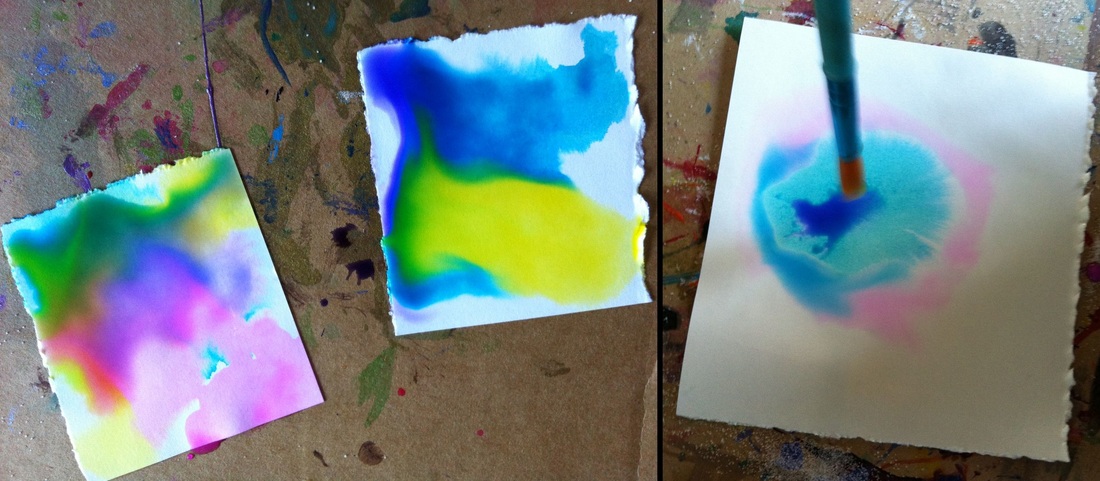
9. Dropping In Color: This technique is simply the process of introducing a color to a wet region of the painting and allowing it to blend bleed and feather without interruption. The result is sometimes unpredictable but yields interesting and vibrant color gradations that cant be achieved by mixing the pigment on the palette.
10. Crayon resist: Resist, means that the crayon will repel the water color away from it. If you use a white crayon during this activity, the white of the paper is preserved. Any color crayon can be used to achieve different results.

11. Water-based marker:

12. Watercolor pencils:
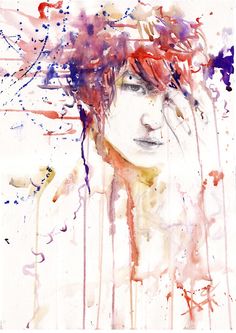
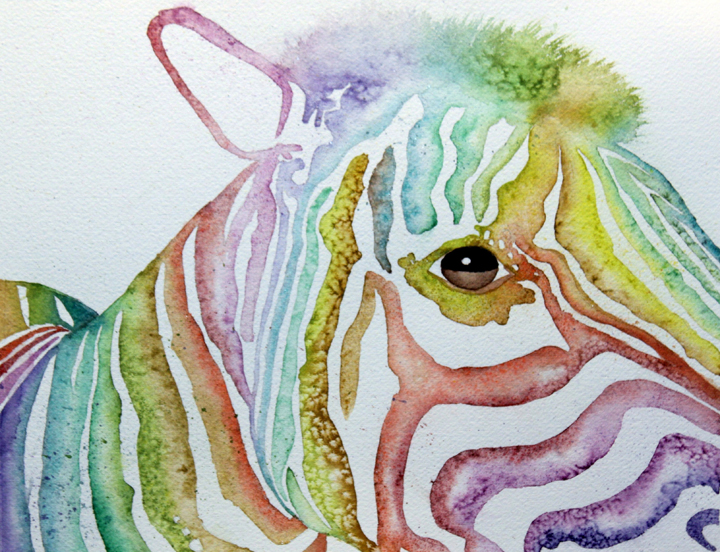
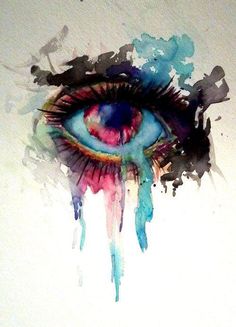
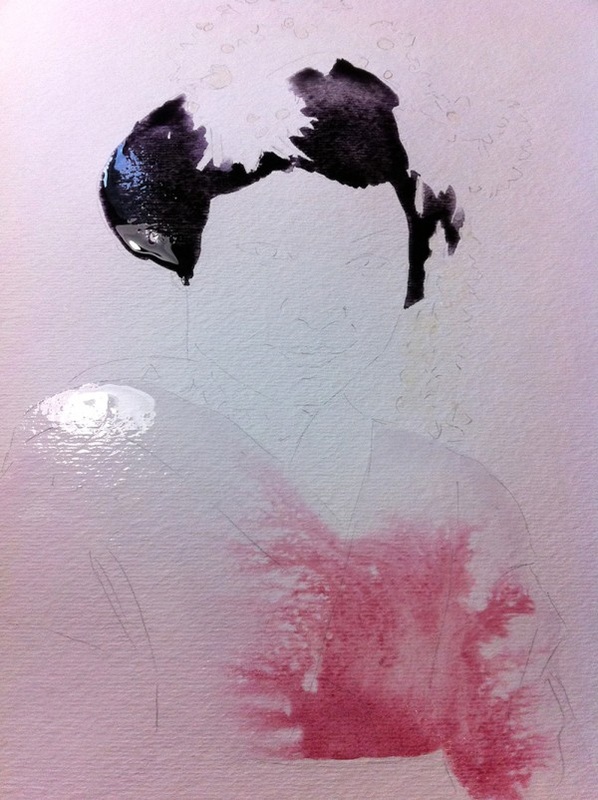
13. Controlled clear water placement: Using very clear water, do a wash in just the area you want to work on, in the first photo below it was the hair. Let the water soak into the paper for a moment before adding the paint. Come in with a light color and float it into the water, letting it move and shift as it wants to. Don't try for very tight control at this point – that will just frustrate you and take all the fun out of this. Let the watercolor do its thing and make for finer detailing with markers or dry brushing later.
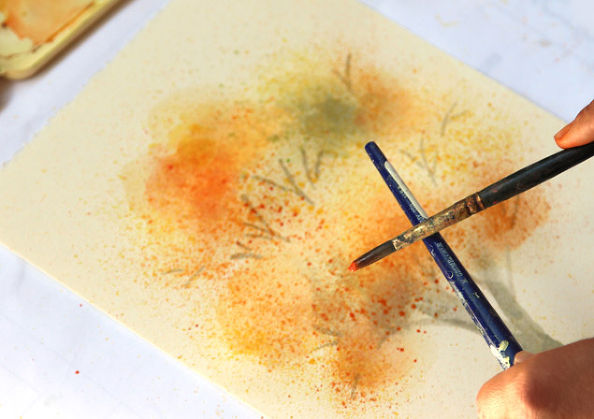
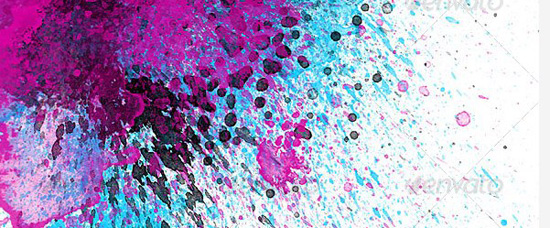
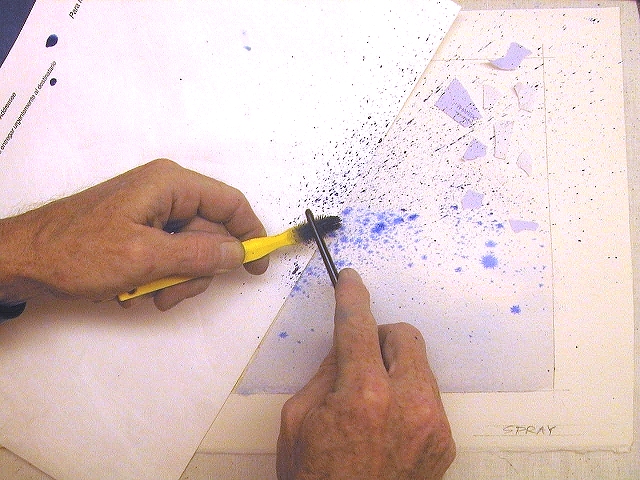
14. Flick! Spray! Splatter!
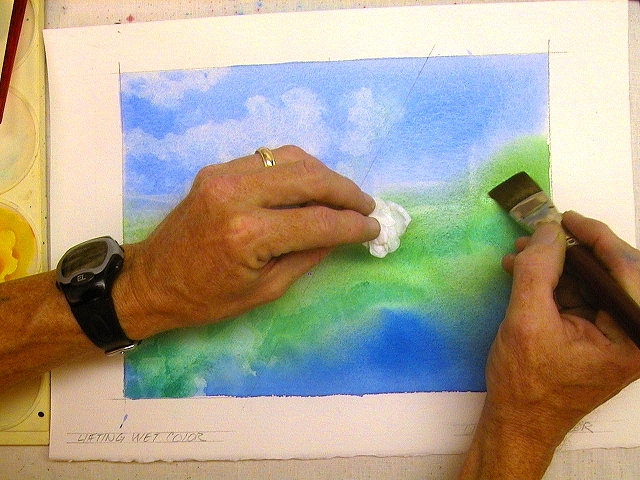
15. Color Lifting: Because of the way the tissue material lifts color and water off the page, it can also be used to create soft lighting effects, like rays of light or fog. If your paper is dry, you can lay down strips of paper over your painting, and dab in between to create rays of light that are sharp and straight on the edges, and blurry in the middle.